Making a Salamander - gallery
I am currently making a new Salamander animatronic.
This page, which will be added to as the project continues, contains photographs taken during the build with some notes.
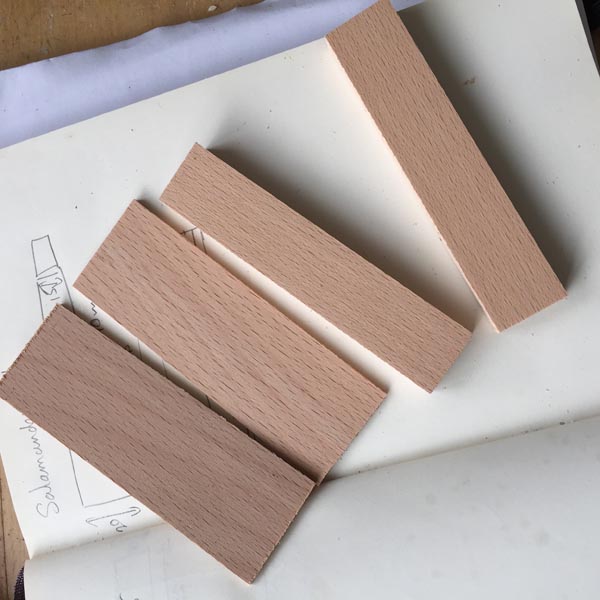
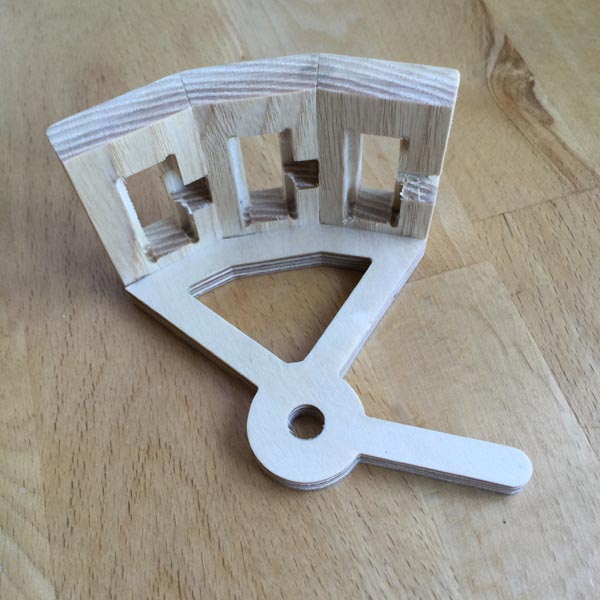
A method for making a prehensile tail when the wood is longer than available drill bits for drilling holes for the control lines.
Beech wood cut to size and planed smooth.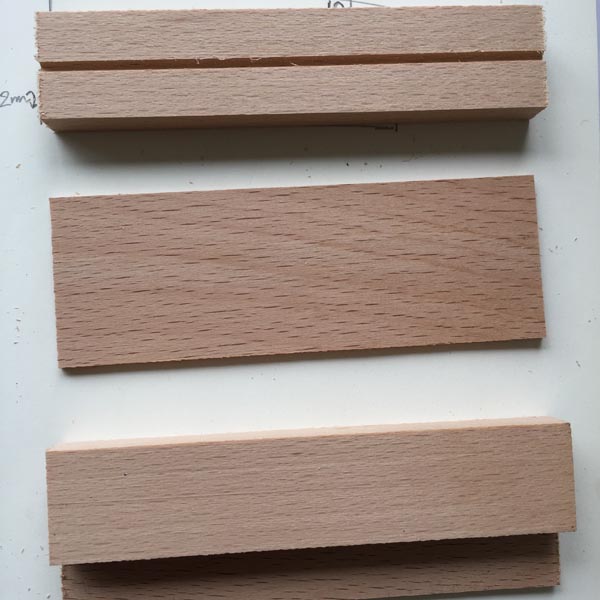
A groove cut in wood to take the control line. Wood pieces then glued together to make the 2 sides, left and right, of the tail.
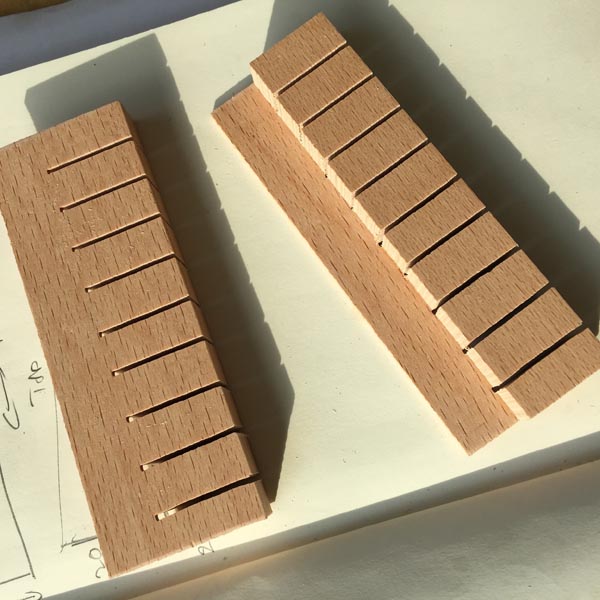
The two sides with the segments cut with a band saw leaving the thinner material at the top to keep it all together.
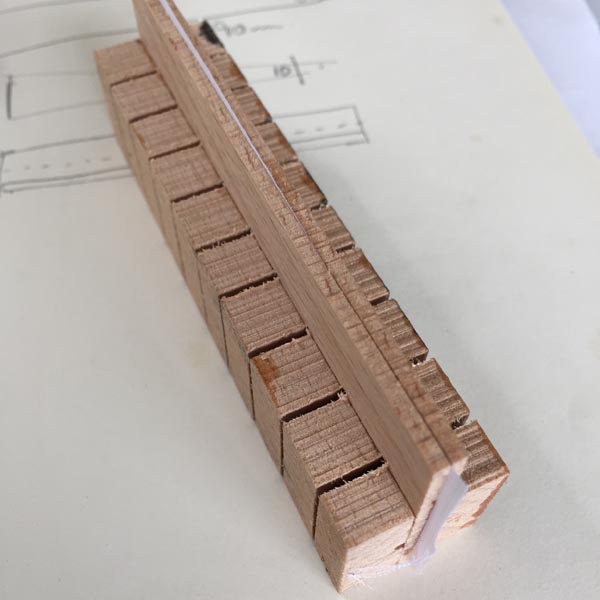
The 2 halves are glued together with a strip of ripstop nylon in-between. Superglue is the only adhesive I have found that will give a good bond with the ripstop nylon. The 2 halves are clamped together to form a strong bond.
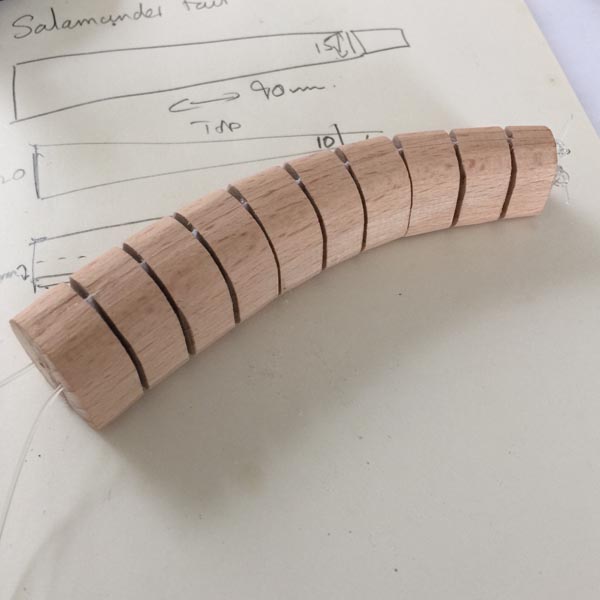
The tail is shaped on a sanding machine and the holding material is cut away. The tip of the tail will be made separately and will secure and conceal the control lines.

A strong bending tail with precise holes for the nylon control line.
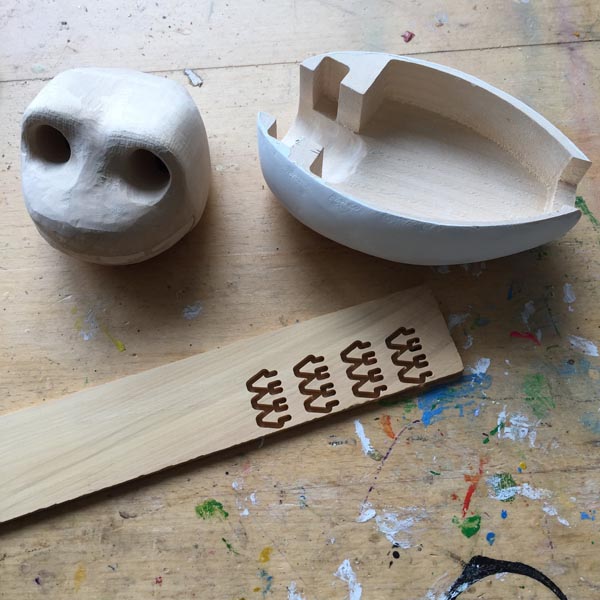
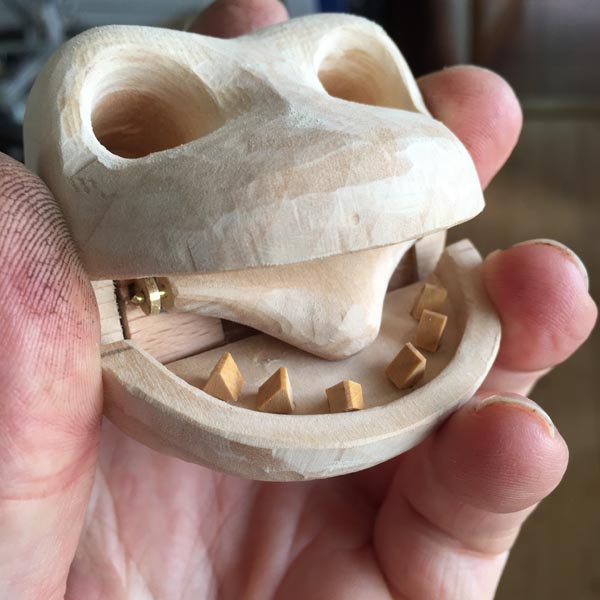
Head and body parts with teeth cut from boxwood
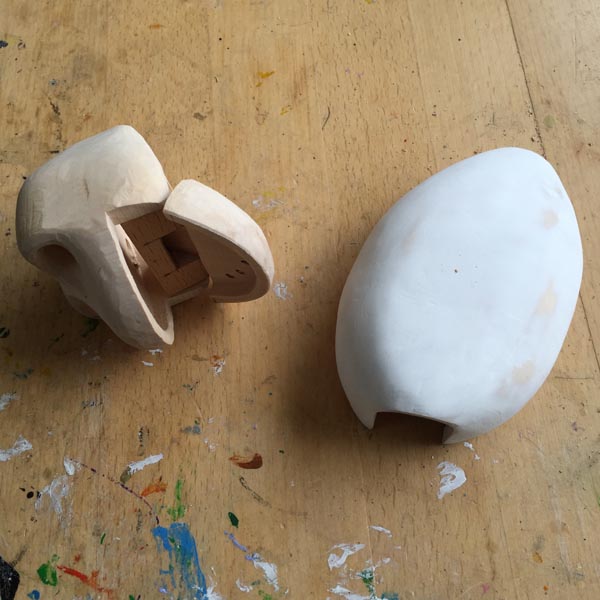
Top of body painted with artists gesso to give a smooth finish. Head with jaw placed.
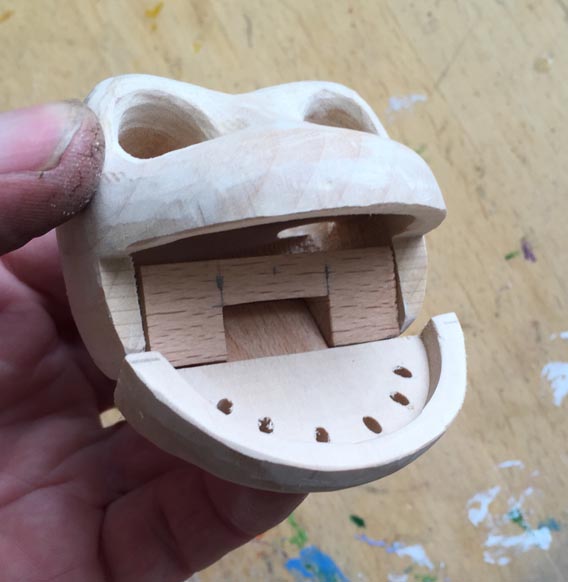
Head showing jaw fitment and holes for teeth.
Head with tongue and teeth placed. Next step is to fit the eyes.
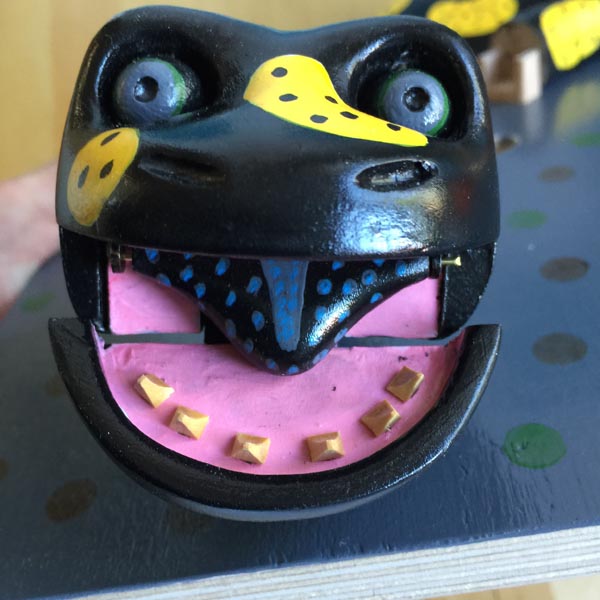
Head painted with artists gesso, acrylic paints and acrylic gloss varnish. Water based acrylics are wonderful. They dry quickly and brushes are easy to clean. In this case this acrylic varnish was diluted with water and applied with a spray gun.
The teeth are natural box wood. The eyes, tongue and bottom jaw all have movement.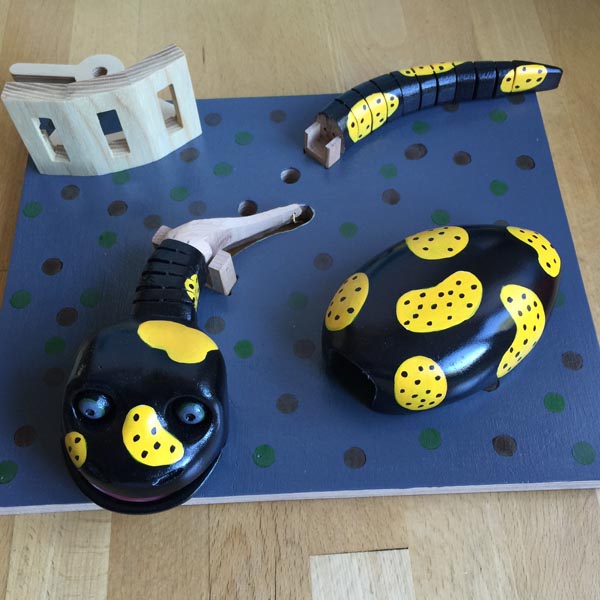
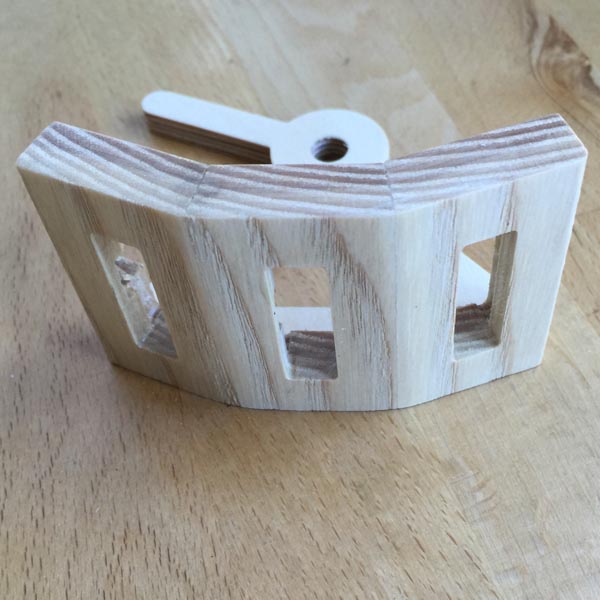
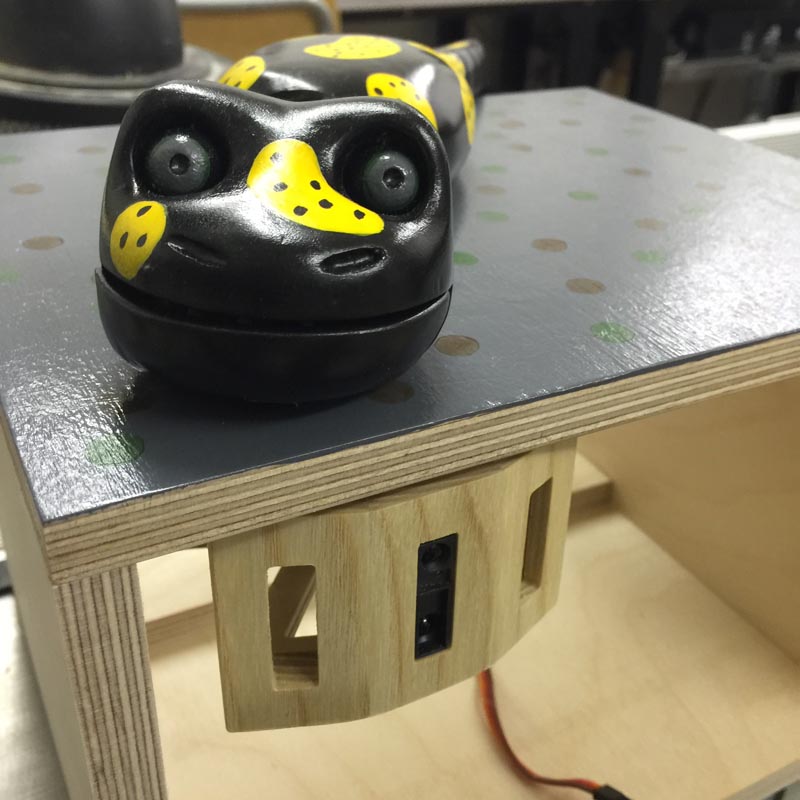
The body parts ready for fitting. Also shown the frame for holding the distance sensors, made from ash wood.

The body fits over the mechanism and can be removed for adjustment. The legs have not yet been fitted.
The holder for the close distance sensors is cut from 3 pieces of ash, finished with acrylic wax varnish.
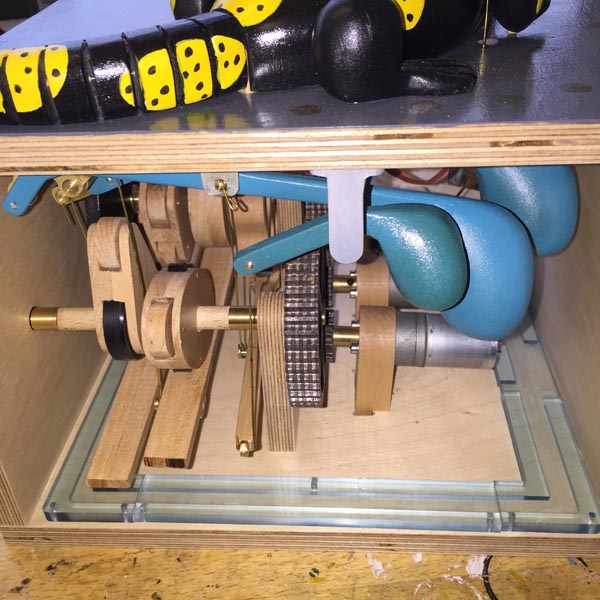
Rear view showing recesses for the sensors and the actuator to drive the head movement.

Salamander mounted on frame ready for mechanism to be fitted.

Drive gears cut from 12mm birch ply. Cut with a Sieg KX3 CNC mill for accuracy, using a 2mm end mill.
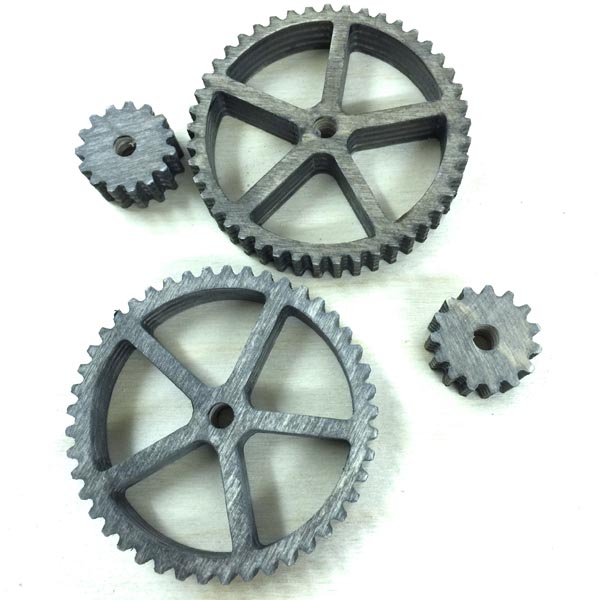
Varnished with 2 coats of wax acrylic varnish. The first coat was grey coloured.
The varnish sinks into the wood and makes it stronger. The wax varnish also contributes some slipperiness to the cogs.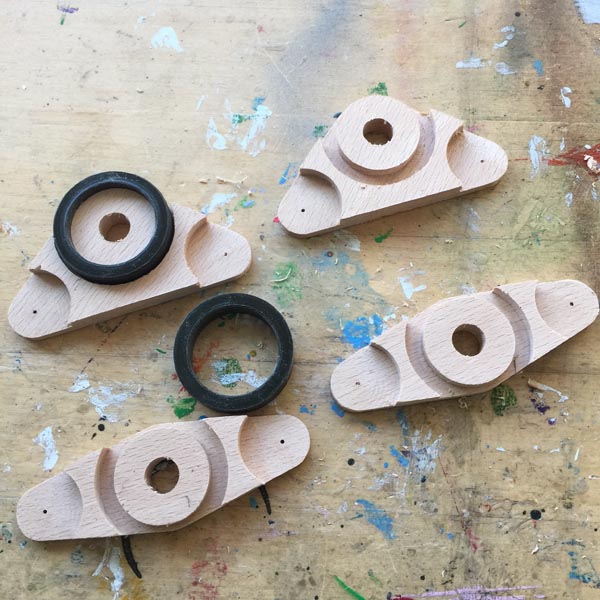
Cams with nylon rollers for the low point. The nylon ring rotates to reduce friction against the cam follower. Beech wood rollers are inserted in the high points.
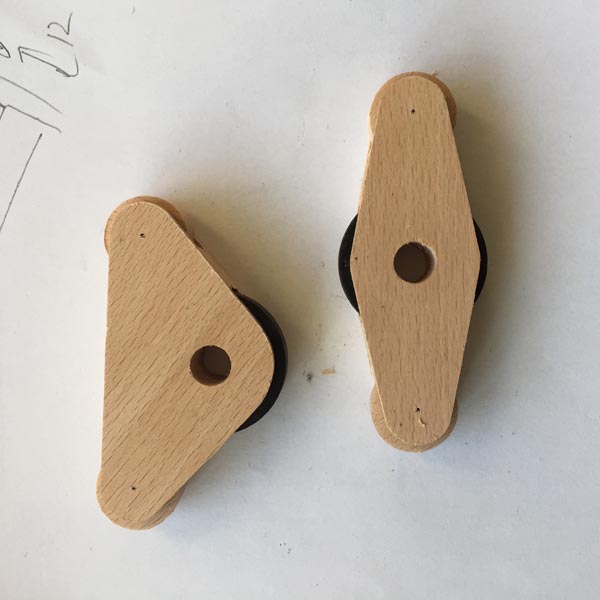
Roller cams assembled.
Distance sensor holder mounted on servo.
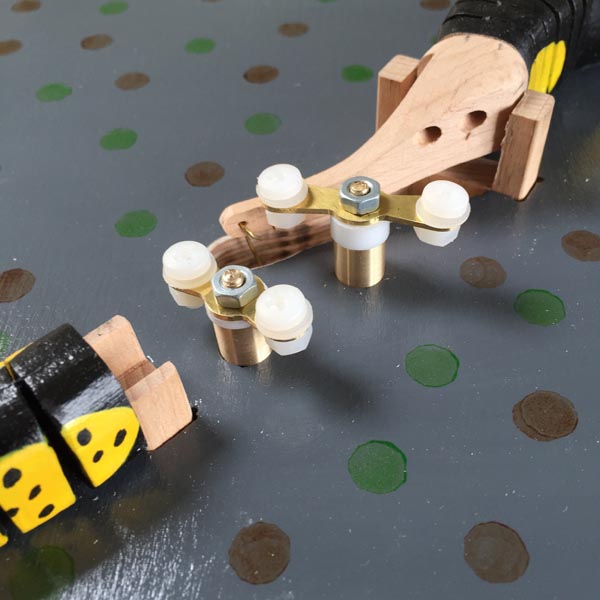
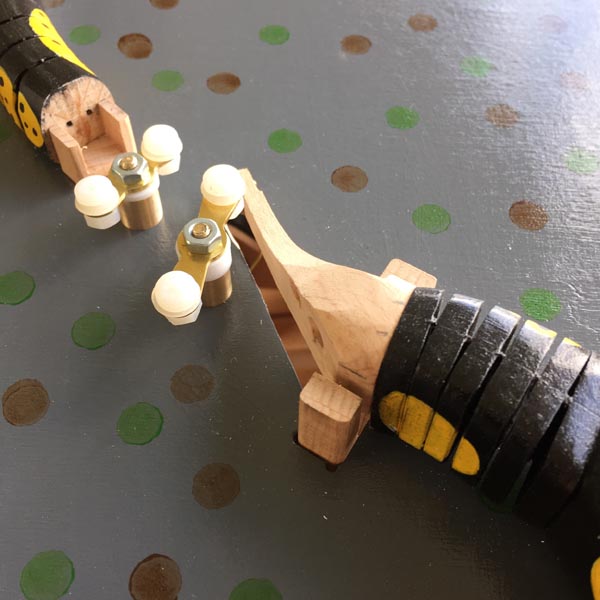
Showing mechanism for moving tail. Nylon nuts will censure the cord that runs through the tail and head, allowing replacement if necessary due to eventual wear.
Another view of body internals
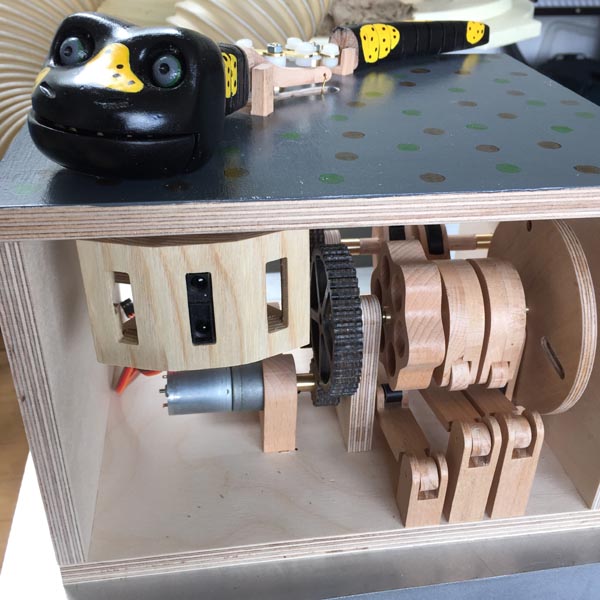
Showing the cams being assembled. The registration disc can be seen to the right. This will be painted black. LEDs shining through it onto light sensors will enable the micro controller to log the position of the cams.
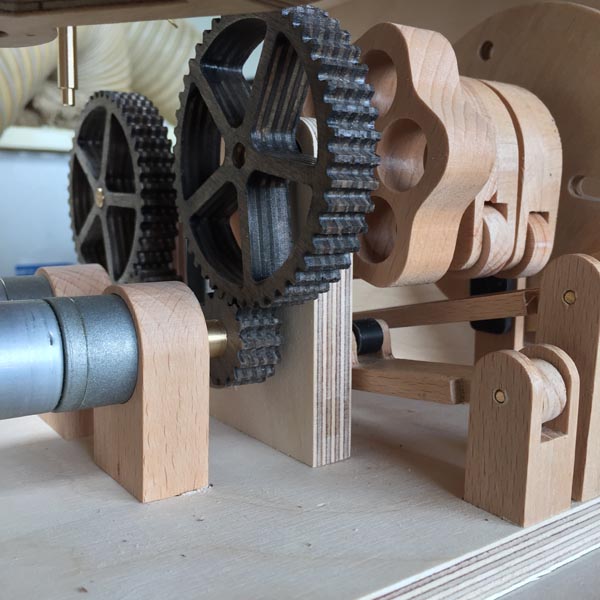
View of gears and cams. Gears are made of birch ply and painted with wax acrylic varnish.
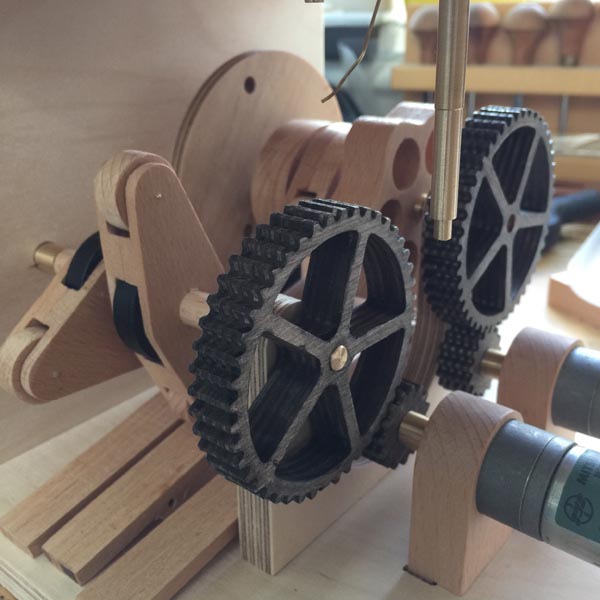
Another view of gears and motors in place. 2 of the cam followers have 2 cams, one of the 2 switches the follower off and on by moving it away from the other cam.
The brass rod hanging down connects to the body mechanism as seen above. The actuator has still to be added.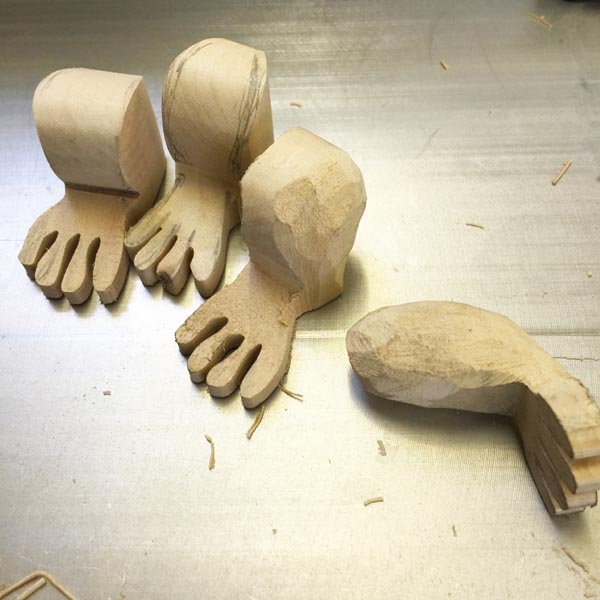
Legs cut and carved out of lime wood
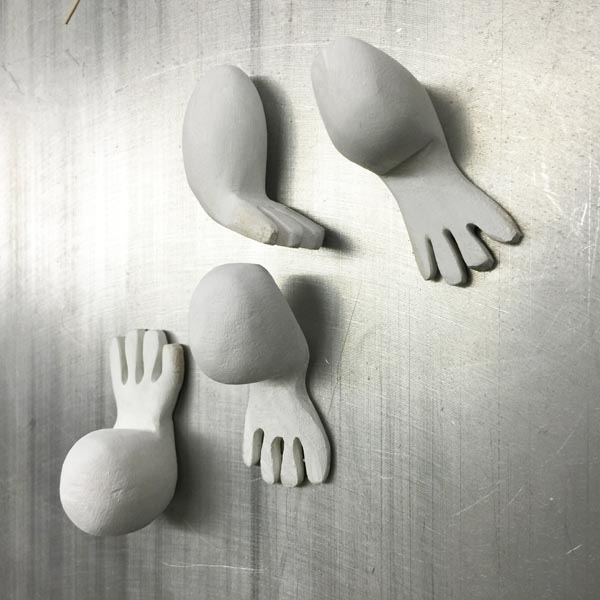
Legs sanded and painted with artists gesso to give a smooth finish.
Legs painted with acrylic painted and sprayed with 2 coats of acrylic varnish. On brass wires for handling while painting.
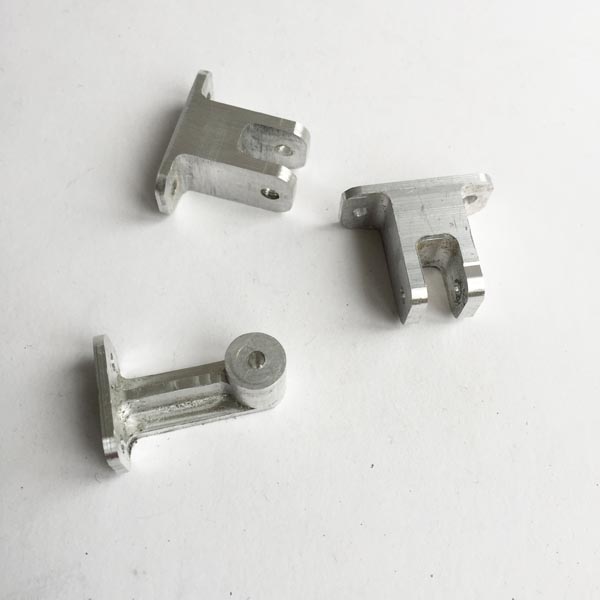
I decided to make aluminium brackets for the counterweights as the weights are quite heavy. These will be screwed to the top of the box. First they need finishing and then anodising.
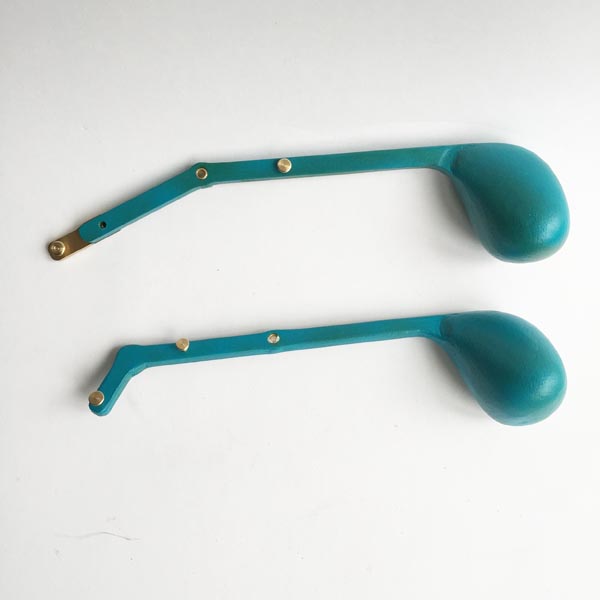
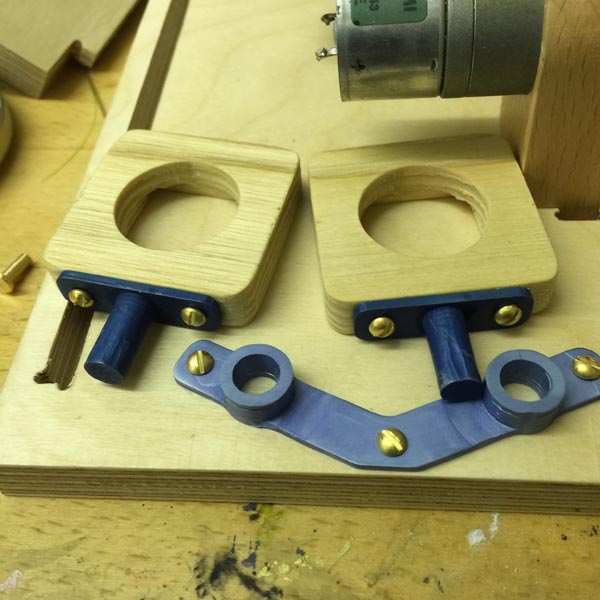
Counterweights cut from beech wood and painted with gesso then 2 coats of green acrylic paint, a spray coat of aquamarine acrylic paint then 2 coats of gloss acrylic varnish.
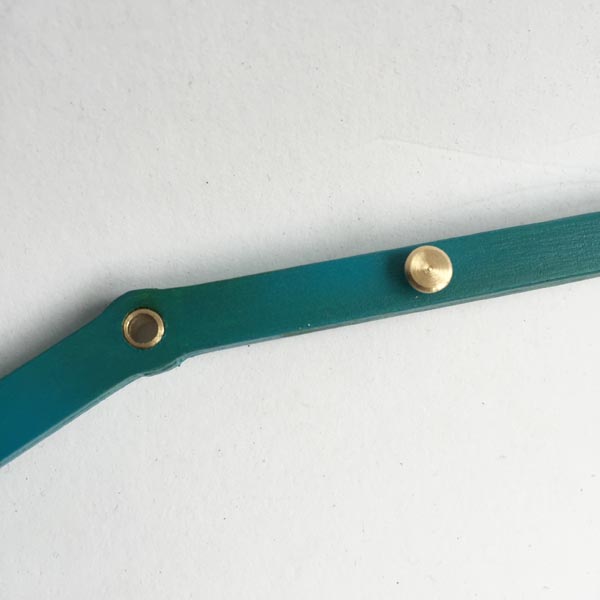
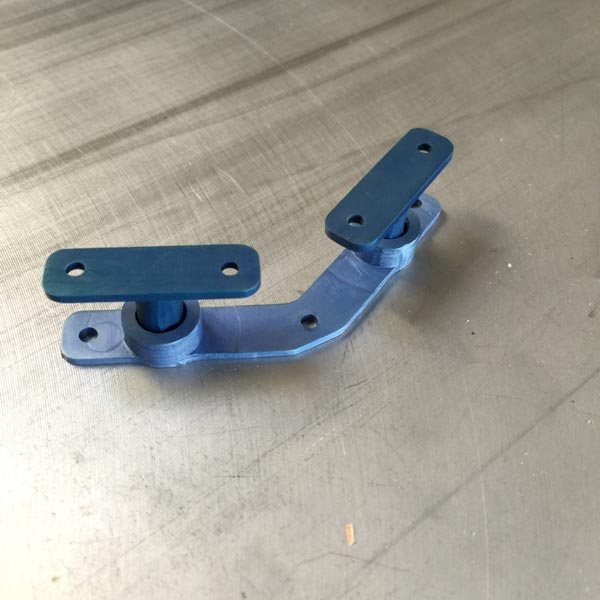
Showing brass fittings on the counterweights.
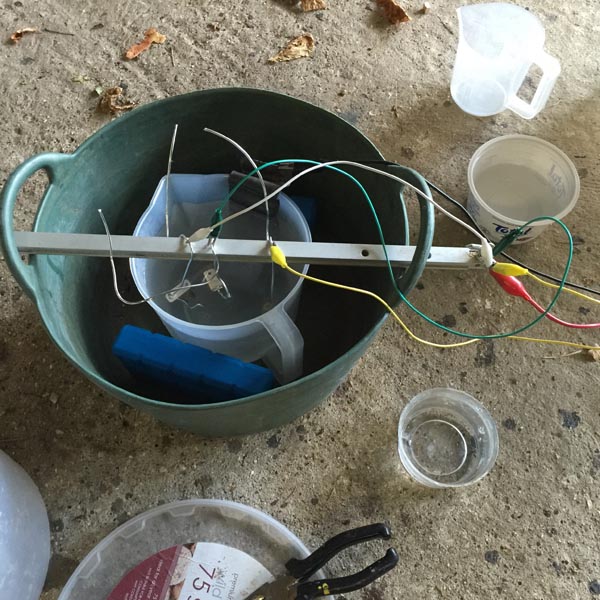
Aluminium parts being anodised. This took approximately an hour to anodise and 30 minutes to seal in boiling water
In the process the parts were coloured with Quink ink which was absorbed into the anodised surface before sealing giving a nice colouration. I found that it was necessary to use the dye in the boiling water else the colour leached out in the process.
Parts of the infra red long distance sensors.

Long distance sensors fitted. The near distance sensors will fit in the holder above. this will be mobile.
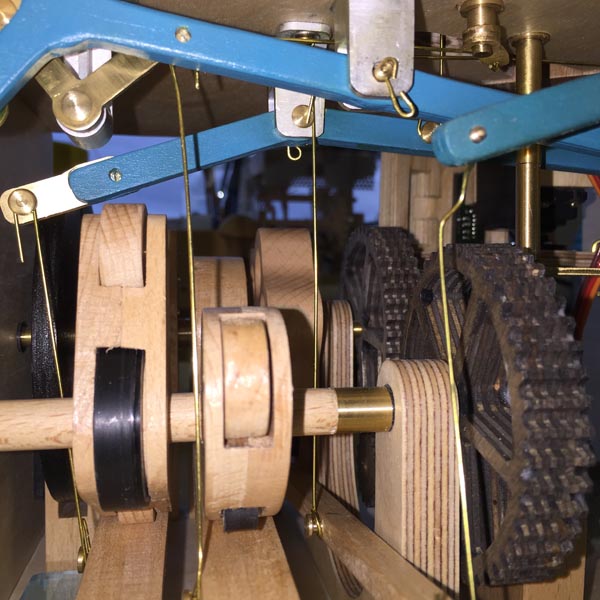
Showing mechanism in top of case and the cam follower counterweight arms in place.
Showing the counterweights fitted.
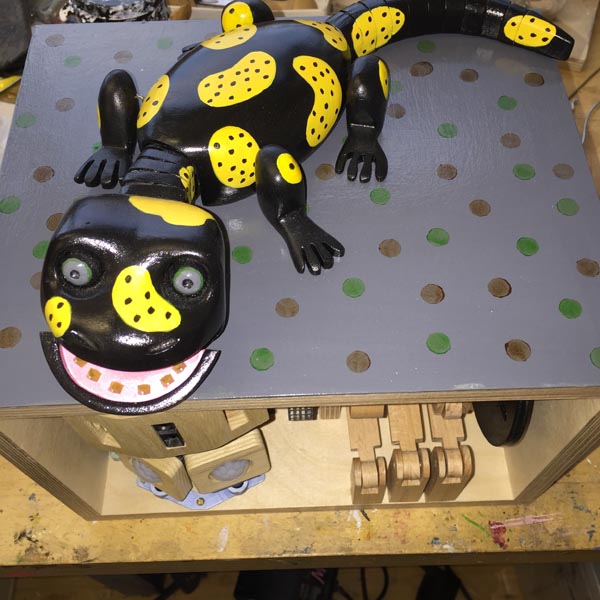
Salamander with legs fitted.
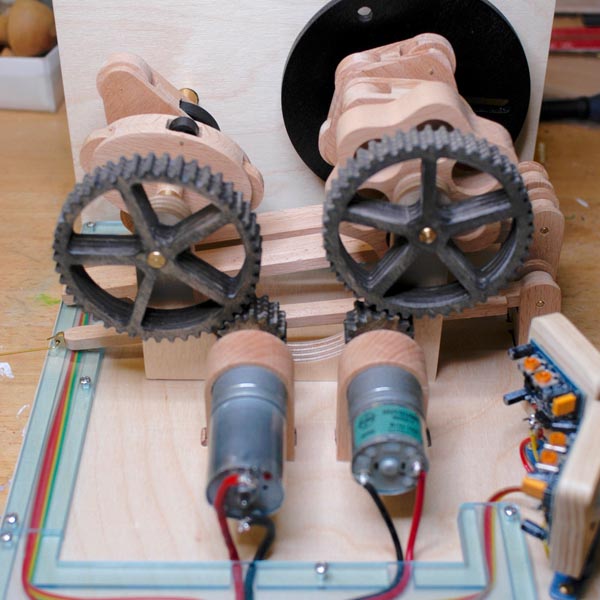
Motors wired and acrylic channels keeping wires in place.
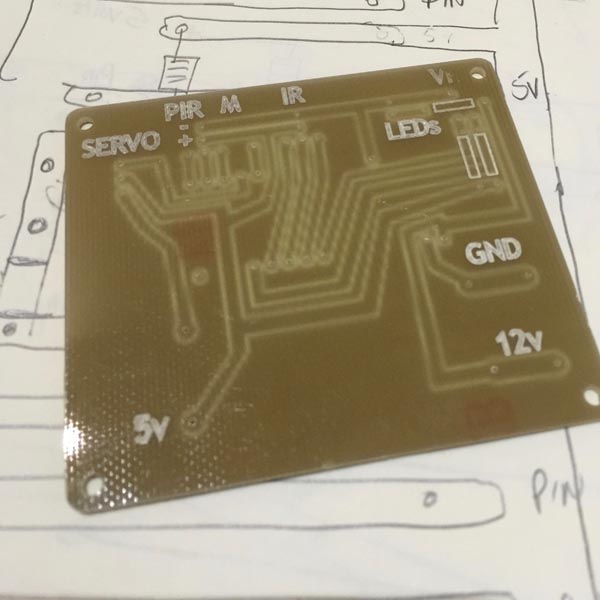
Custom made printed circuit board for the electronics
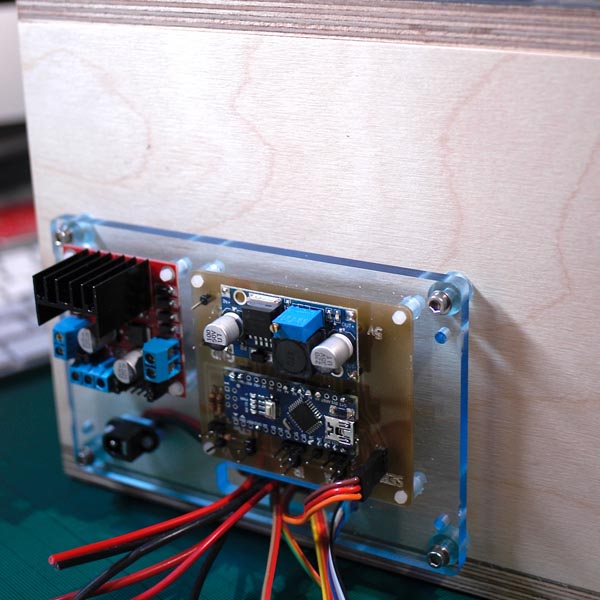
Electronics mounted on circuit board. Rats nest of wiring now needs to be attached to the correct pins.

Electronics completed and acrylic protective frame in position.

Detail of acrylic frame fitting.
6mm blue acrylic used for strength and aesthetics.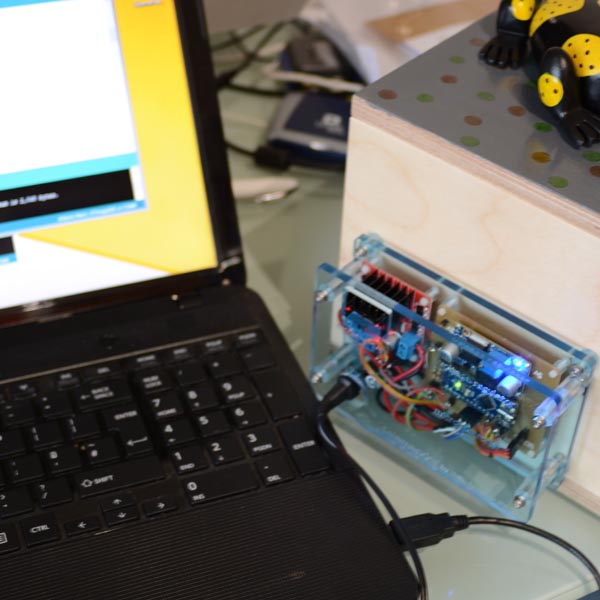
Uploading the code to the micro controller.
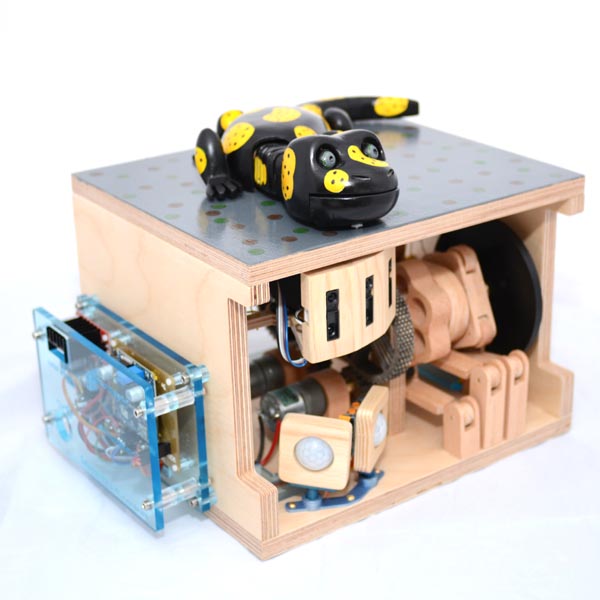
Finished piece.
See Salamander page.