Making Quiet Contemplation of a Sandwich
In April I am making a revised version of my most popular pieces - Quiet Contemplation of a Sandwich.
Here I document the making of 3 examples. 1 is already pre-ordered but 2 are still available.
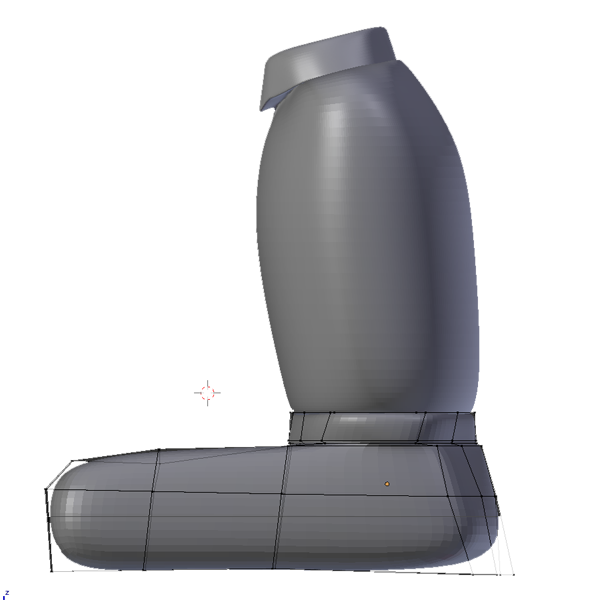
Originally I carved all parts from the block of lime wood by hand. Although each part would look good it was difficult to be consistent so I bought the plans for a copy carving machine on the internet. This worked well, copying an original carving with a router on a pantograph but was a noisy, time consuming job. I am now digitalising all my pieces using Blender and producing the base carvings on a computer controlled router. Complicated carvings such as heads can take a full day to draw in 3D.
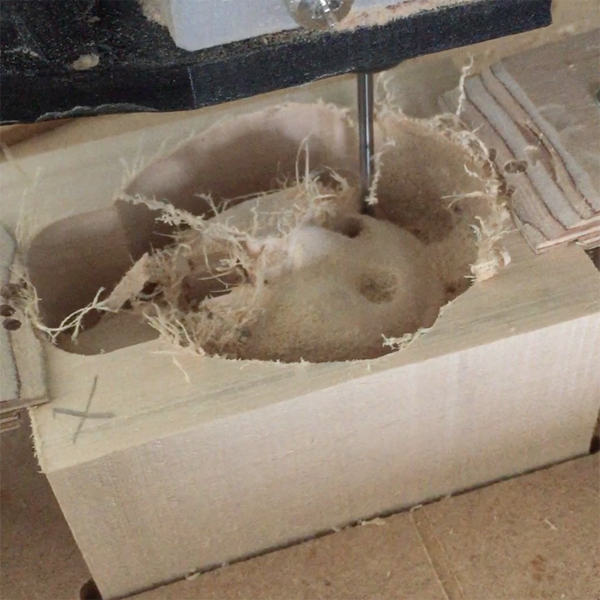
This gives an exceptionally high quality and repeatable output. 3D routing of a shape can take several hours. The piece having to be registered and turned over to carve the reverse side.
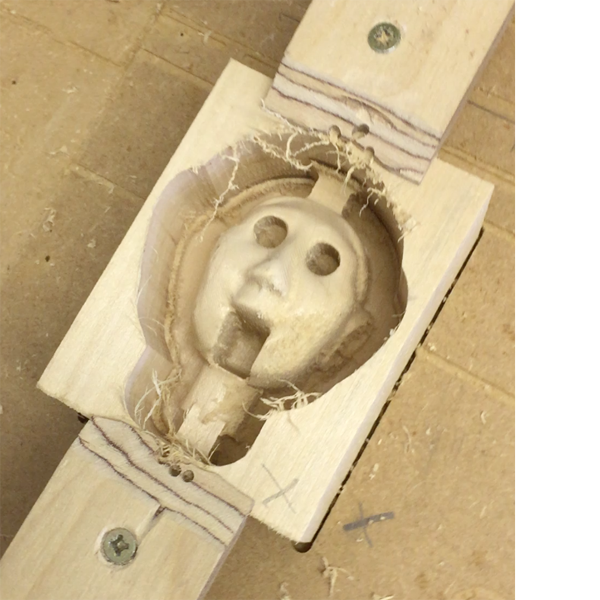
The output is very consistent but raw. It could be equated to a metal casting and needs a lot of finishing.
Several hours later the results are worth all the effort.
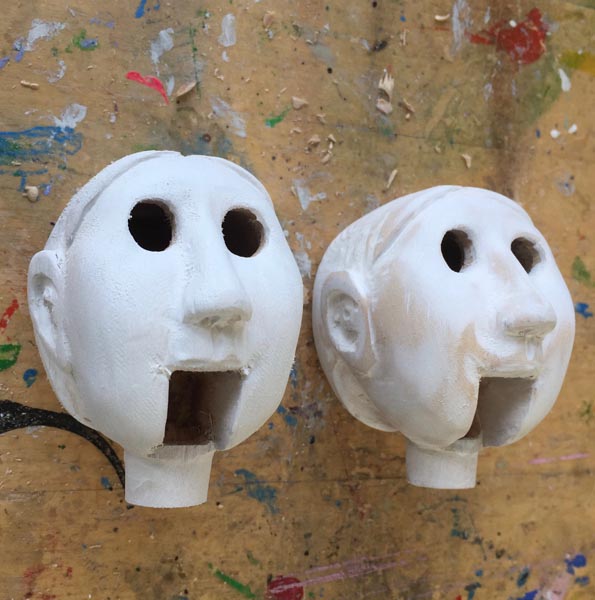
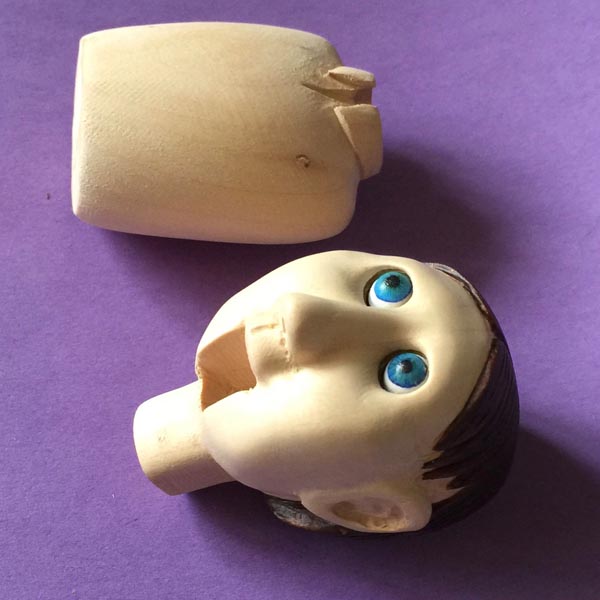
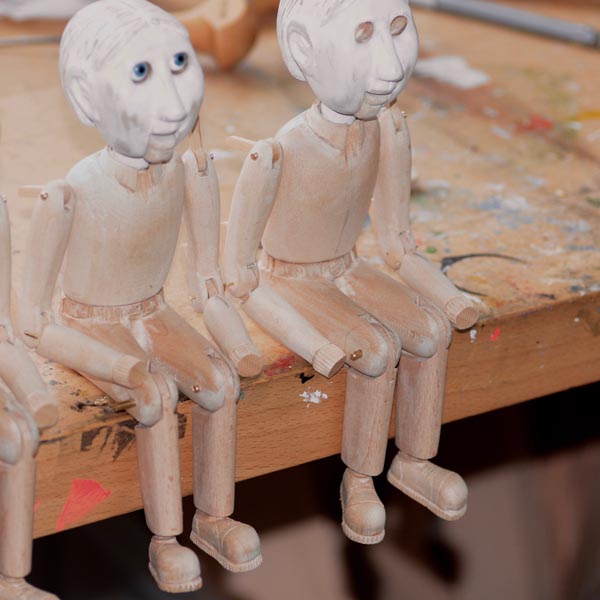
These heads are coated with artists gesso in preparation for air brush painting. This was an experiment. I usually leave the wood unpainted but varnished on the faces.
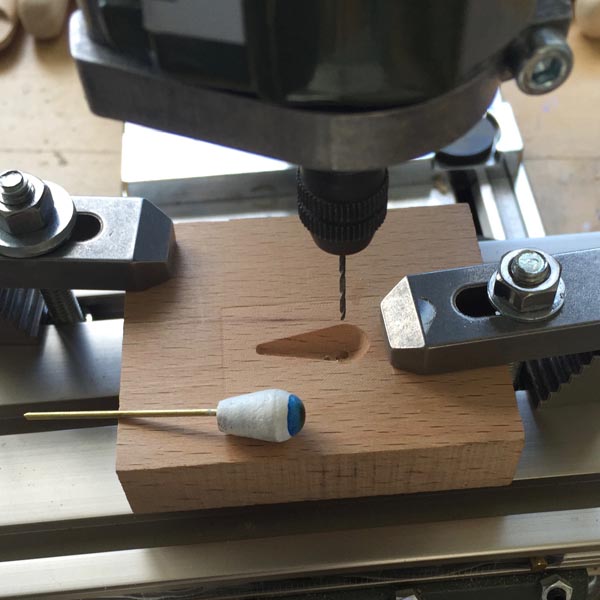
I use a former to accurately place the holes in eyes.

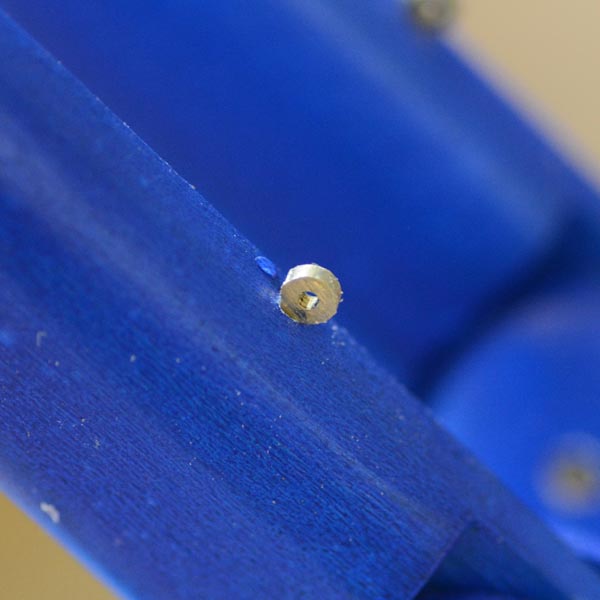
The eye sits in a brass ring the is inserted into the eye socket.
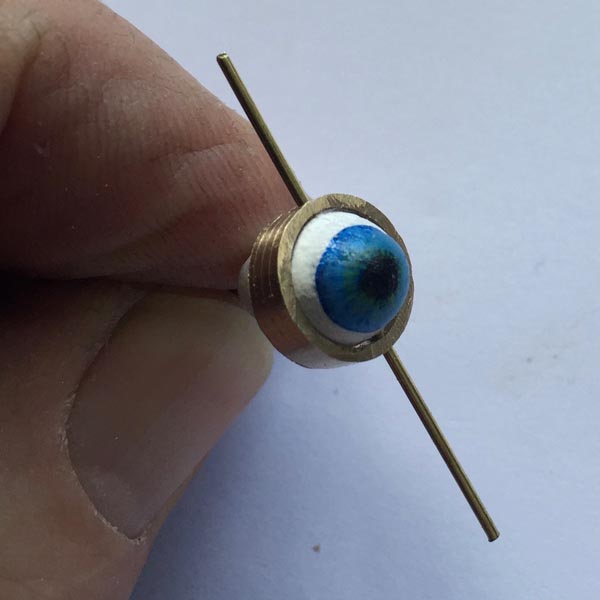
Eye in ring. The pin is superglued in place and filed flush with the ring.
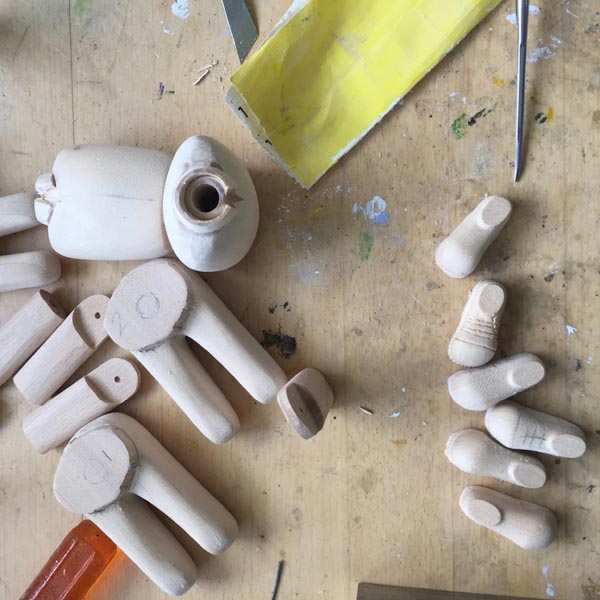
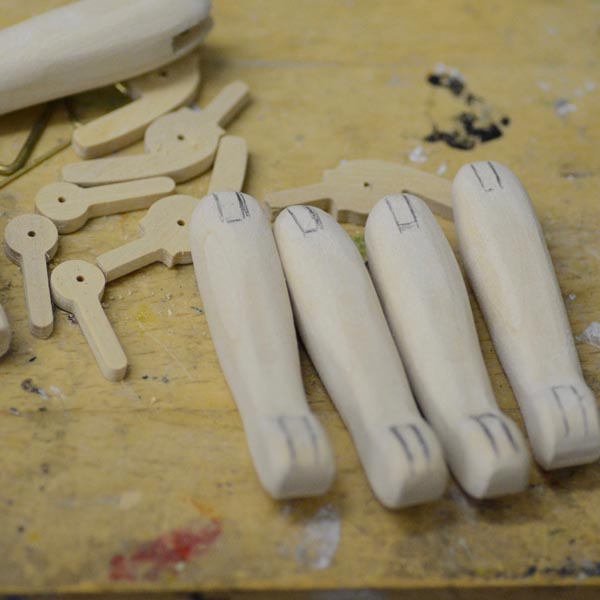
Detail being carved into the body parts.

Boots after carving.
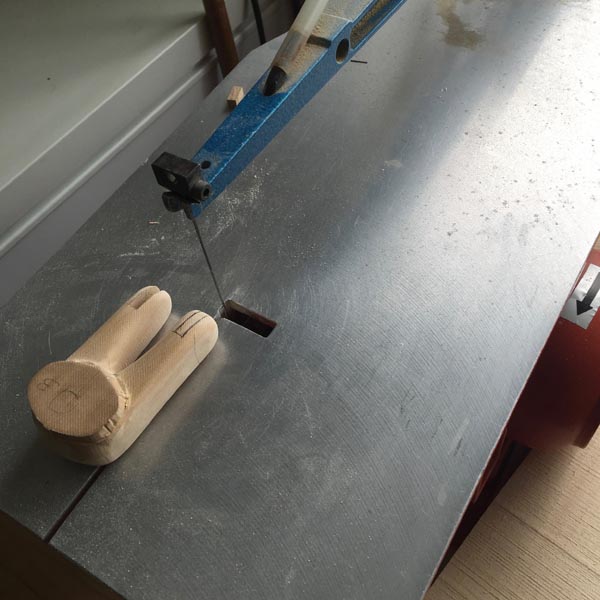
Joints are individually cut and fitted. Here I use a Hegner fretsaw (scrolls) that I have had since 1985. This was the first piece of machinery that I bought and I paid for it with prize money won in a magazine toy making competition.
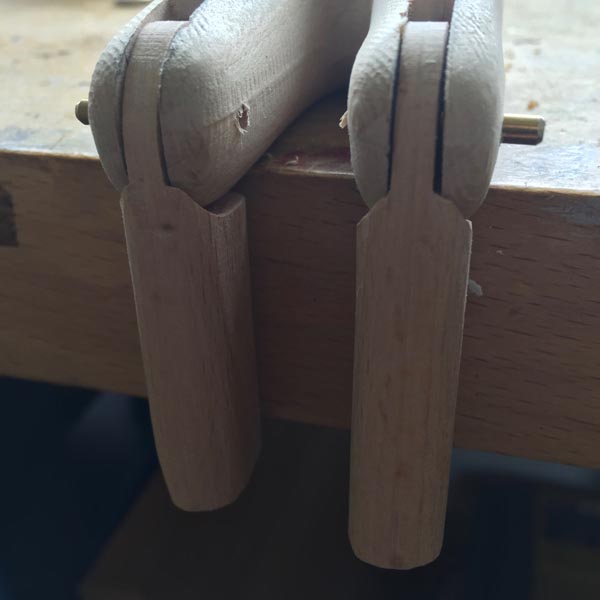
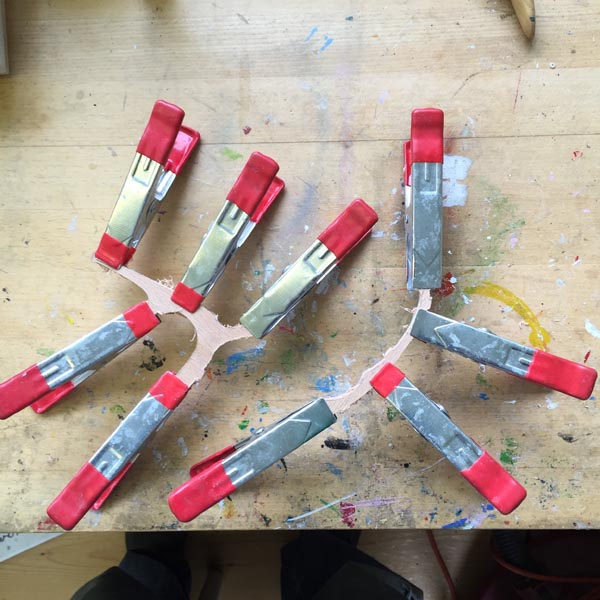
Knee joints fitted to check for free movement.
The arm joins are also hand marked and cut. Here the wooden actuators are made from boxwood. This is very strong with a very tight grain.
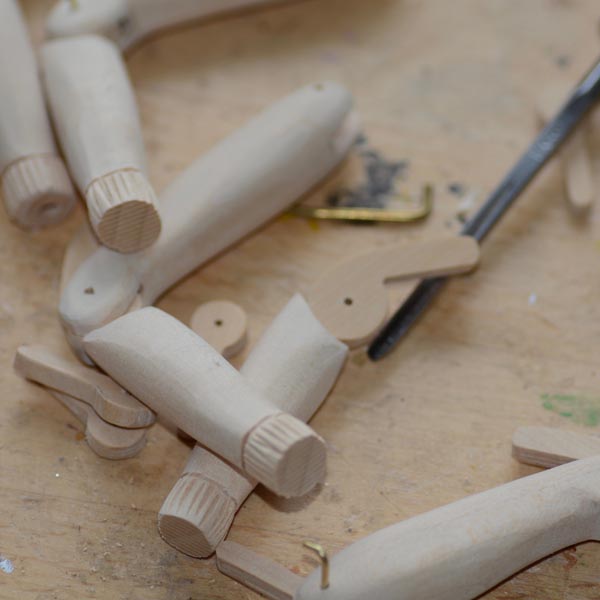
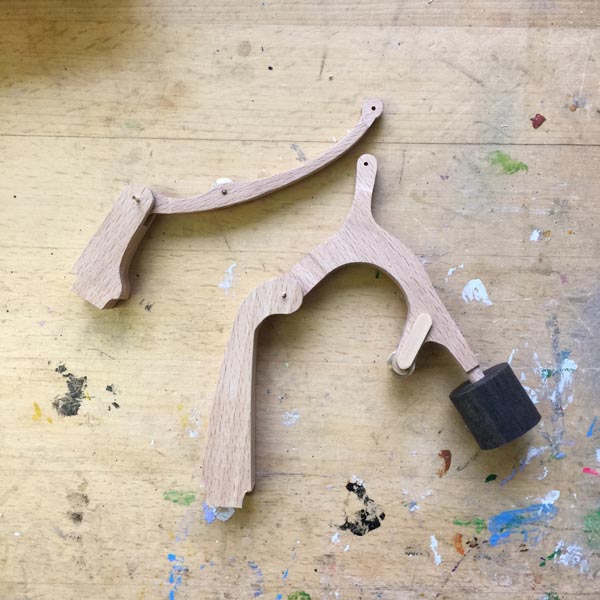
Arms carved and fitted.
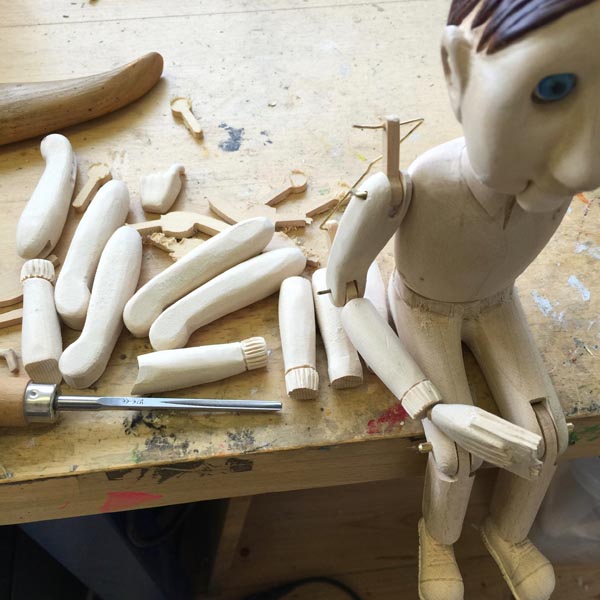
Parts carved and fitted.
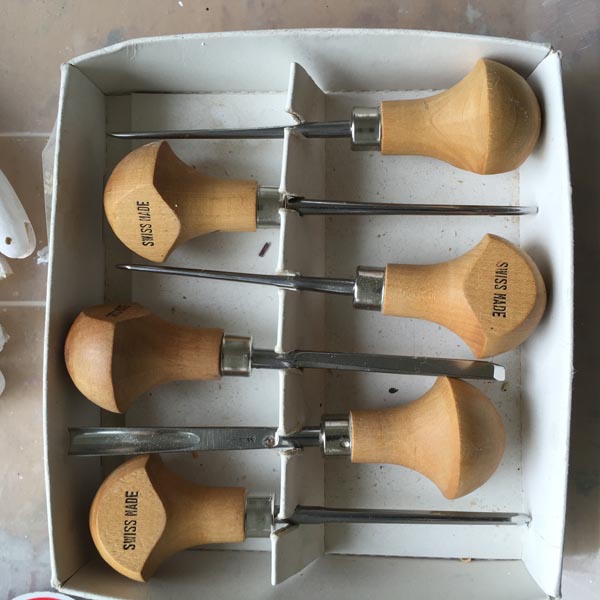
I have used this set of carving tools for many years. They are very high quality and retain an edge for a long time. I have a second identical set for if these ever wear out and also a set of bigger ones.
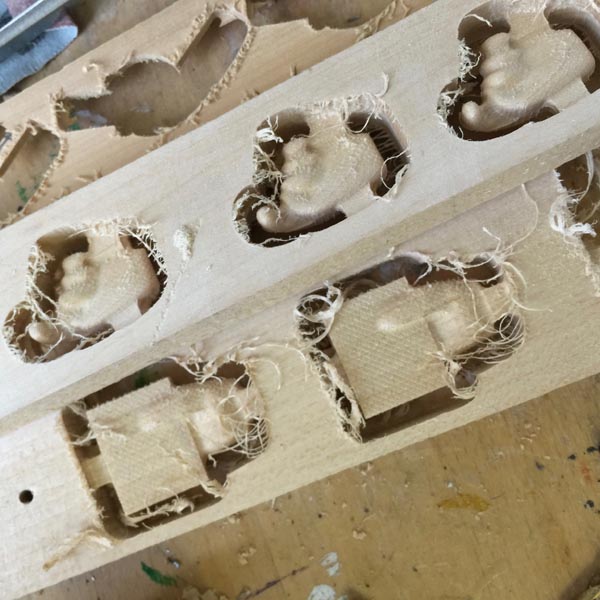
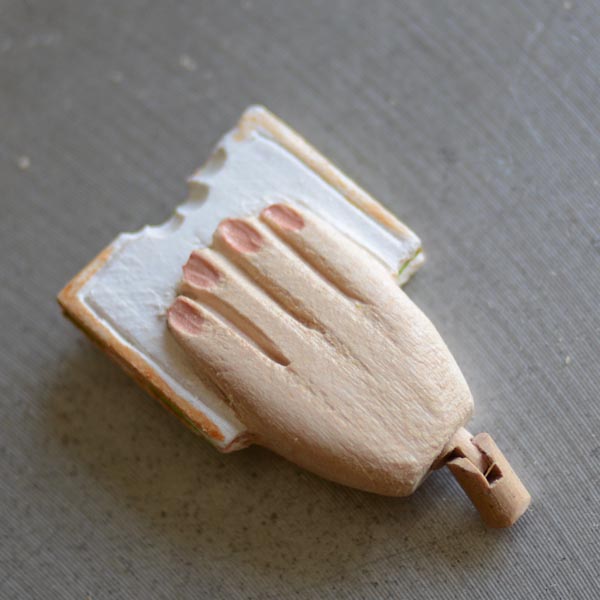
Hands are particularly difficult to carve freehand. (They are also difficult to draw in 3D.)
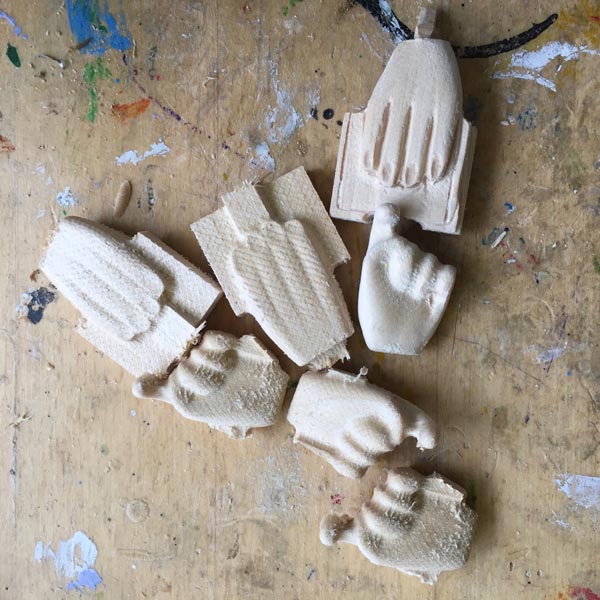
Detail being added to the hands.
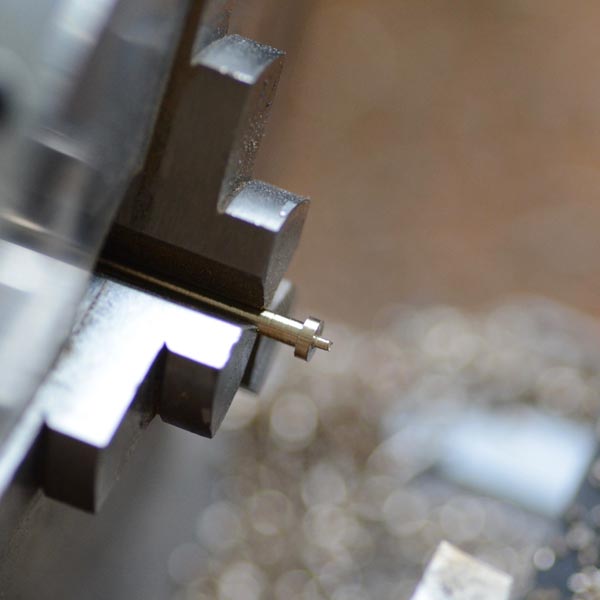
Brass pin for shoulder turned from 3mm brass rod on a Sherline lathe. Sherline lathes are excellent for small work in brass.
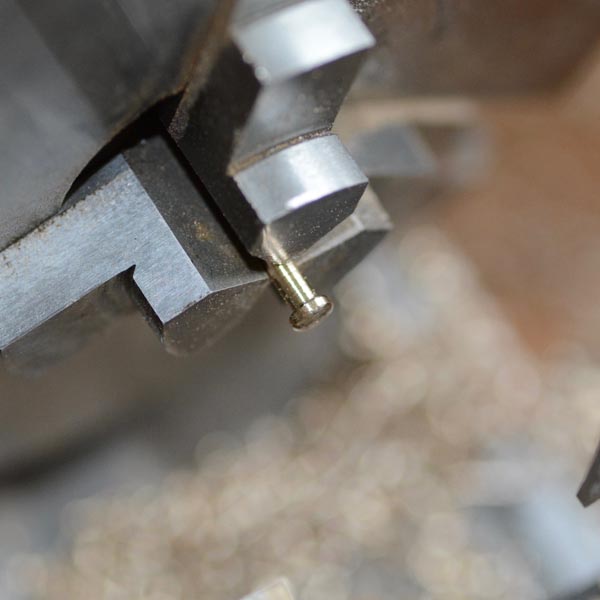
The end of the pins are shaped with a file by hand in the lathe.
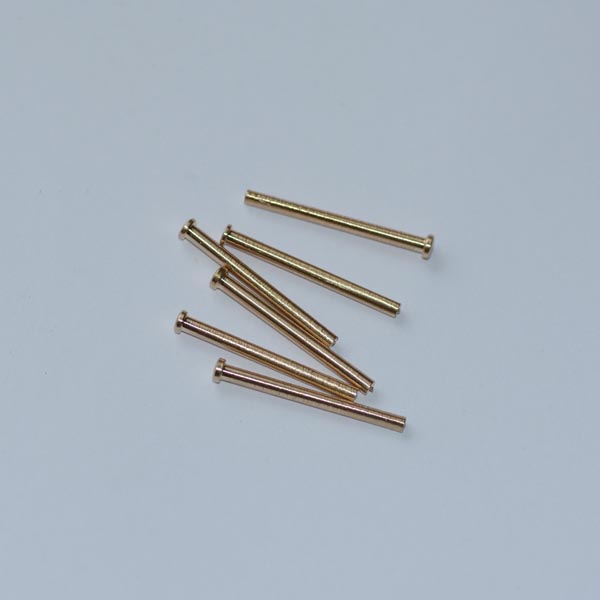
Finished shoulder pins
Test fitting of parts prior to painting.
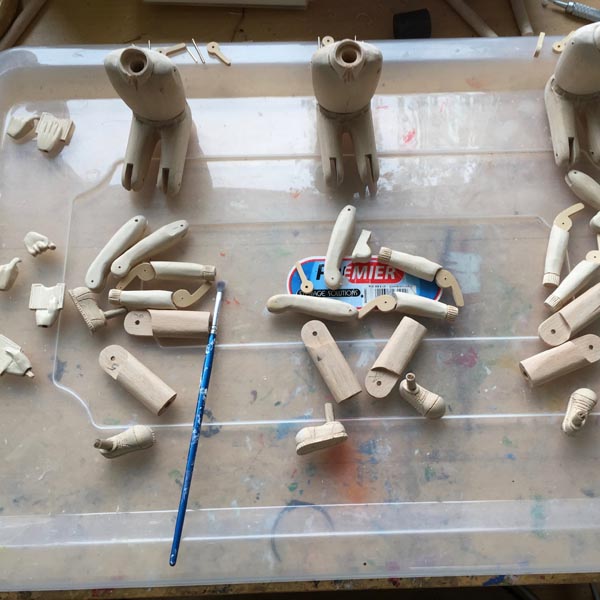
Parts ready for painting.

First layer of gesso is applied. This raises and fills the grain in the wood leaving a smooth foundation for painting. I usually apply and smooth 2 coats.
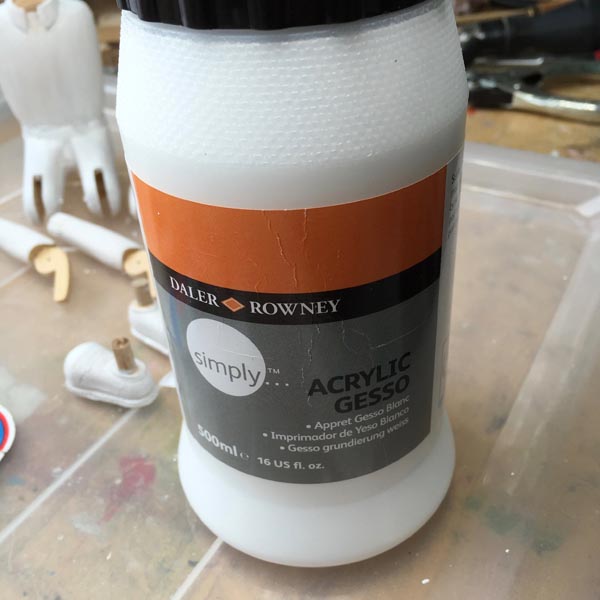
The gesso is a mixture of acrylic medium and fine plaster. It gives a hard, smooth finish to the wood.
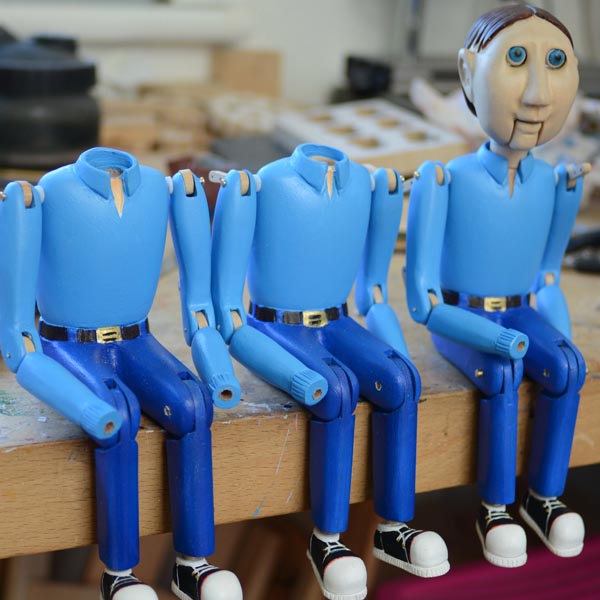
Painted parts test fitted.
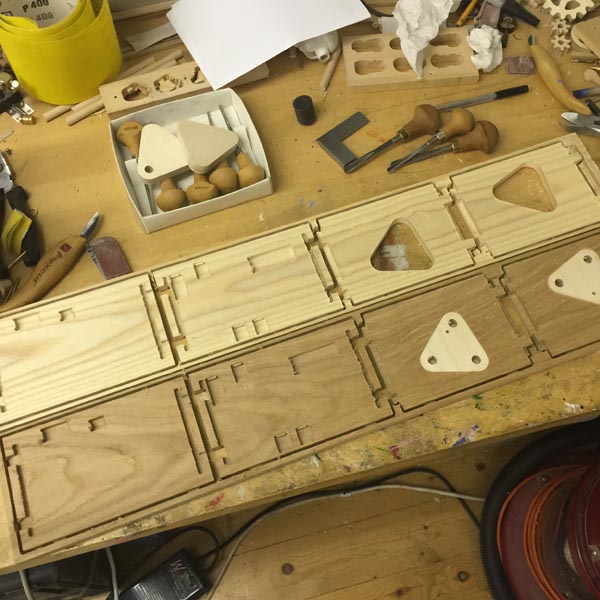
Box parts. 1 set cut from ash wood, the other from oak. The oak has the birch ply inserts fitted. The ply inserts prevent any shrinkage of the wood from affecting the mechanism.
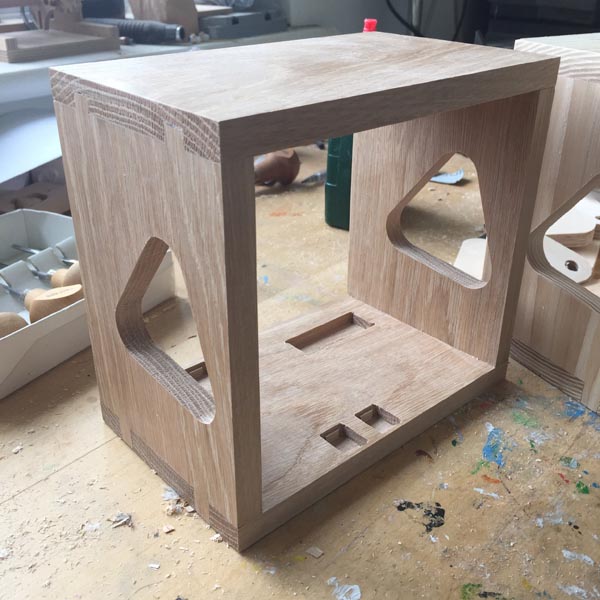
Oak box assembled.
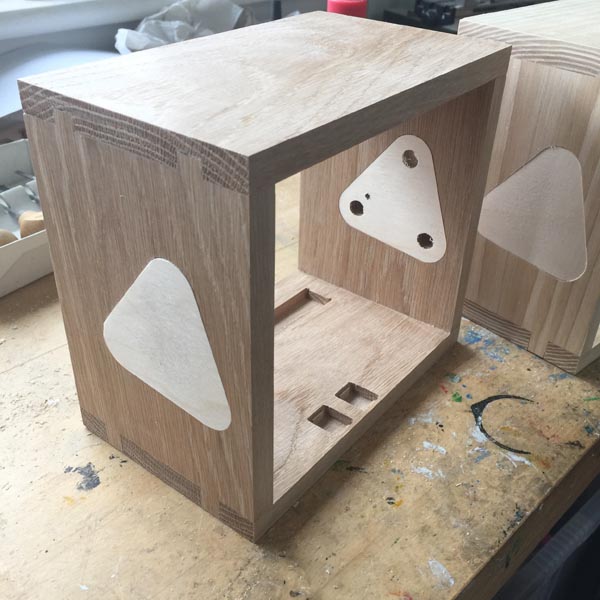
Box with birch ply inserts loose fitted. The inserts are left loose to enable fitting of the mechanism.
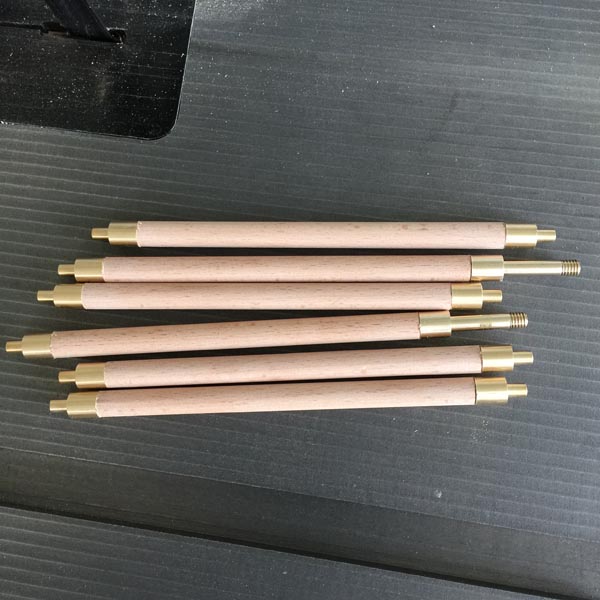
Beech wood axles with brass ends. Note the longer brass ends to attach the crank handle.
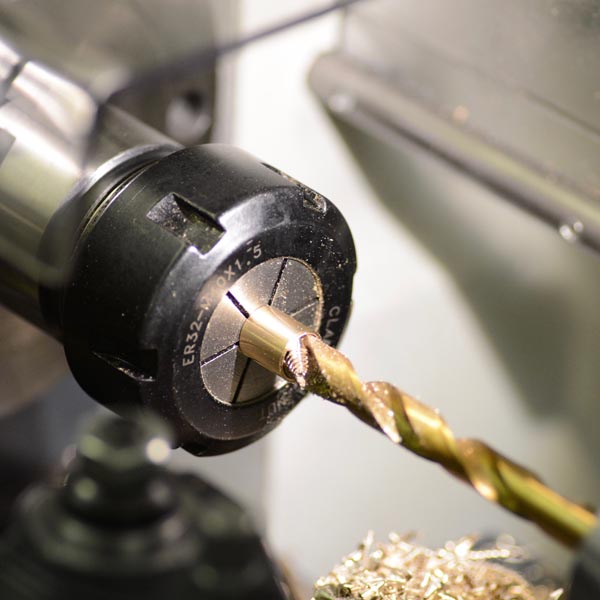
Drilling holes in the brass axle ends.
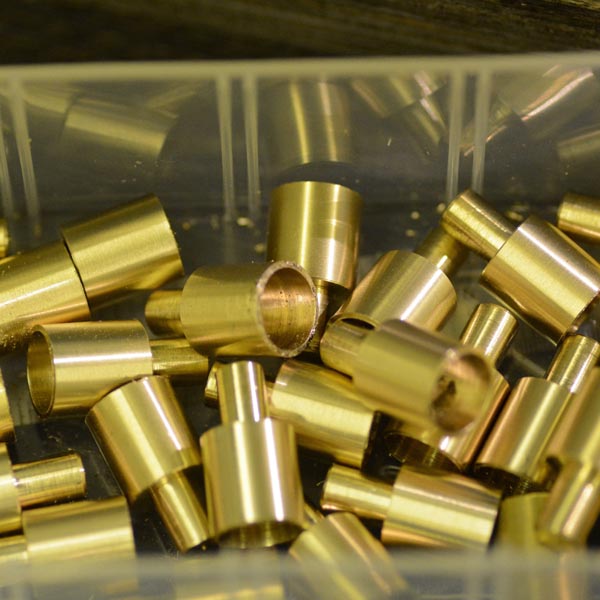
It is most efficient once the lathe is set up to make a supply of brass axle ends.
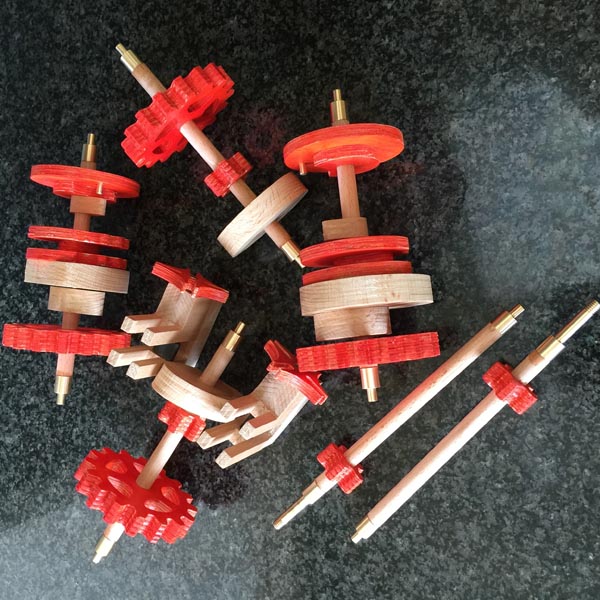
Axles with cams and gear fitted. All parts are painted with 2 coats of acrylic varnish.
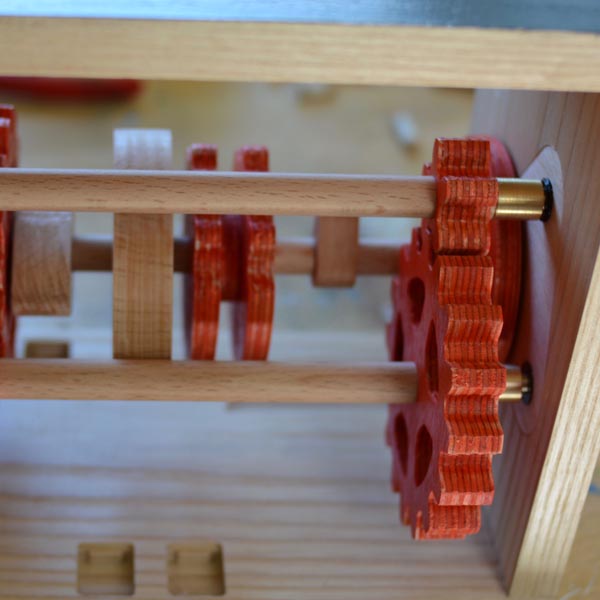
Axles fitted in nylon bushings for smooth running.
The geneva wheel is contracted as a separate module.
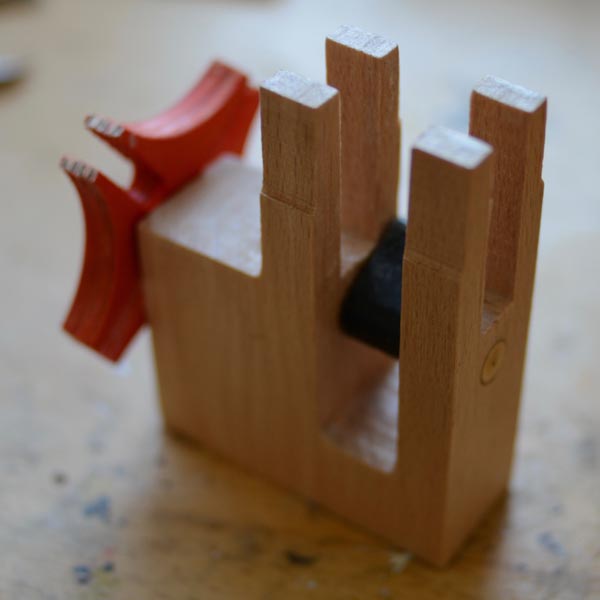
Cam followers are made in 2 halves that are glued together for strength.
Finished cam followers with brass rollers.
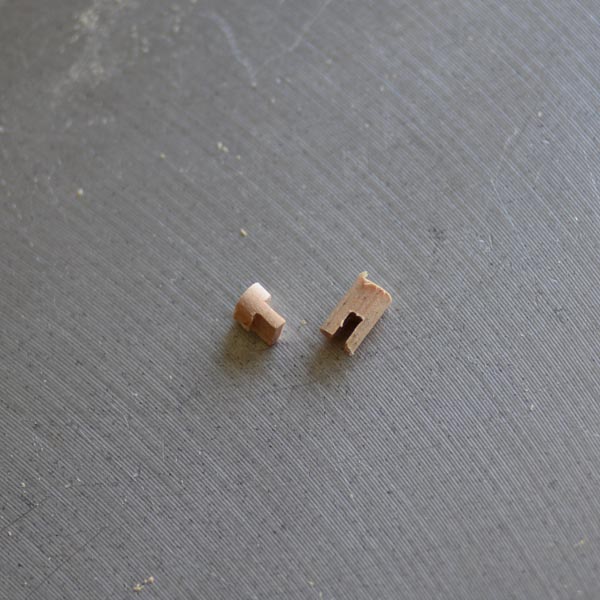
Small wrist parts to facilitate positioning of the hands.
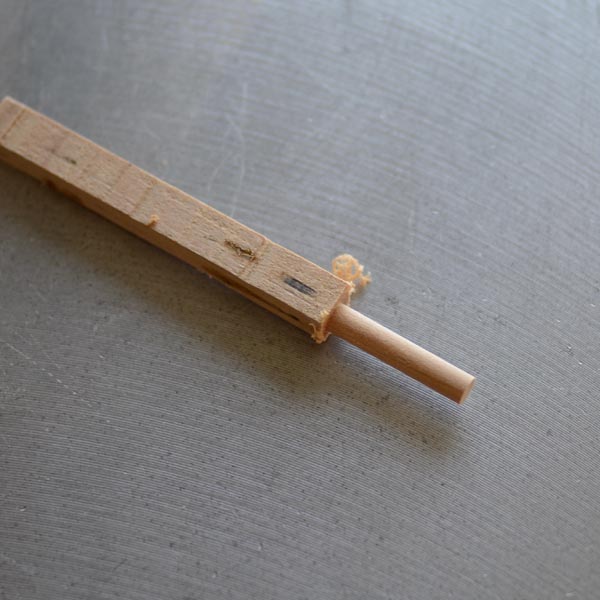
The wrist parts are turned from small lengths of box wood.
Wrist parts test fitted.
The linkage attachment for the legs, cut from brass.
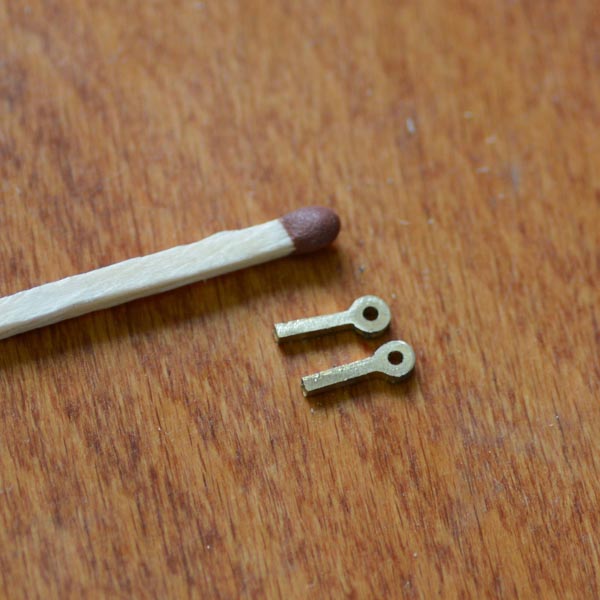
These are small parts!
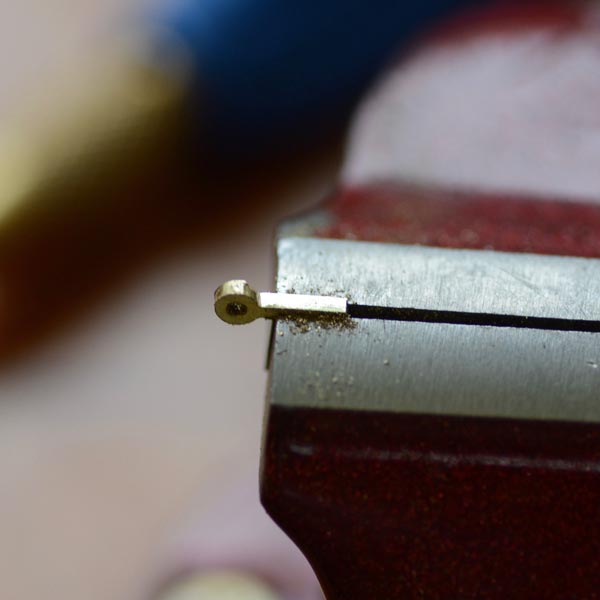
They are held in a small vice for filing.
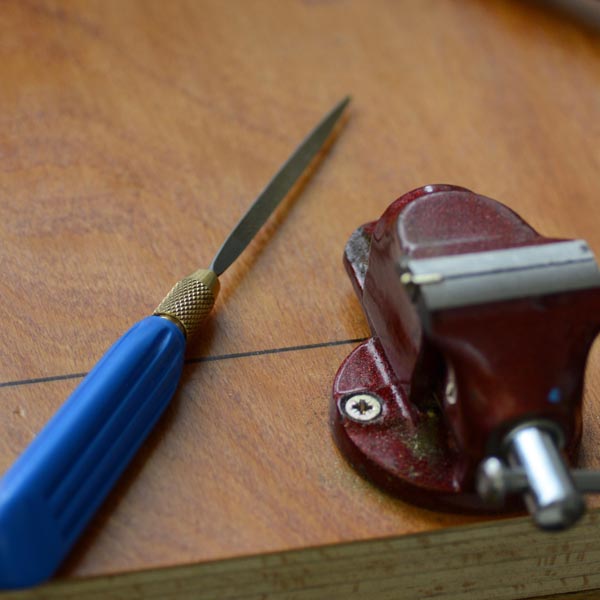
A swiss needle file is used to finish them.
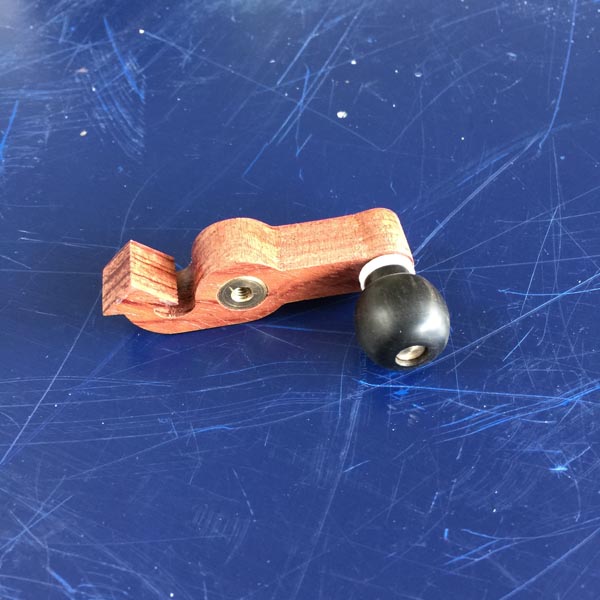
Crank handle ready for fitting.
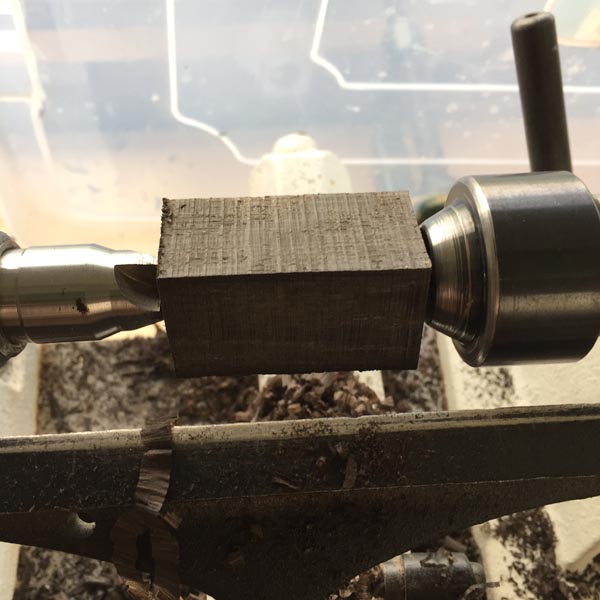
The handle is made form a block of hardwood mounted on the lathe between centres.
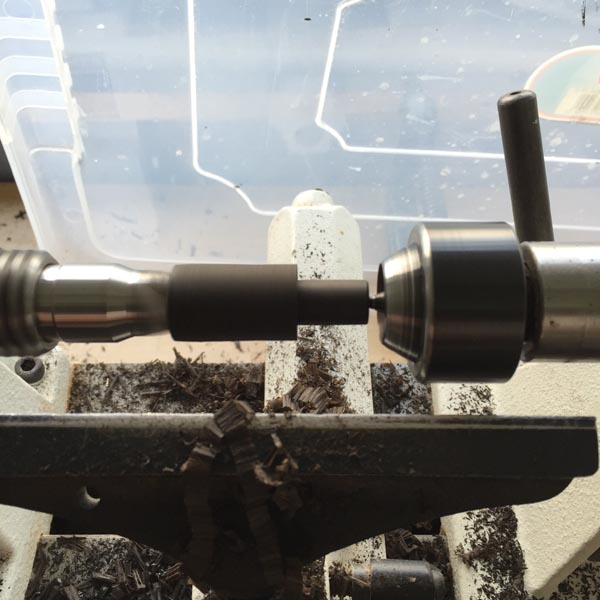
A profile is turned to fit a collet chuck.
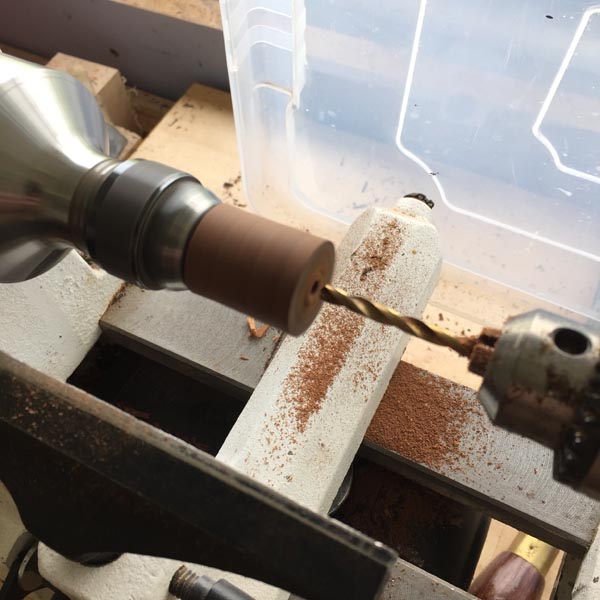
Mounted in the collet chuck the axle hole is drilled.
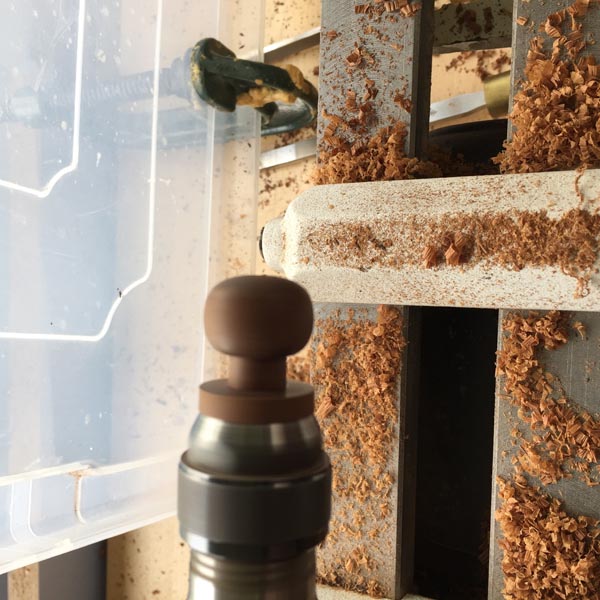
The profile of the handle is turned.
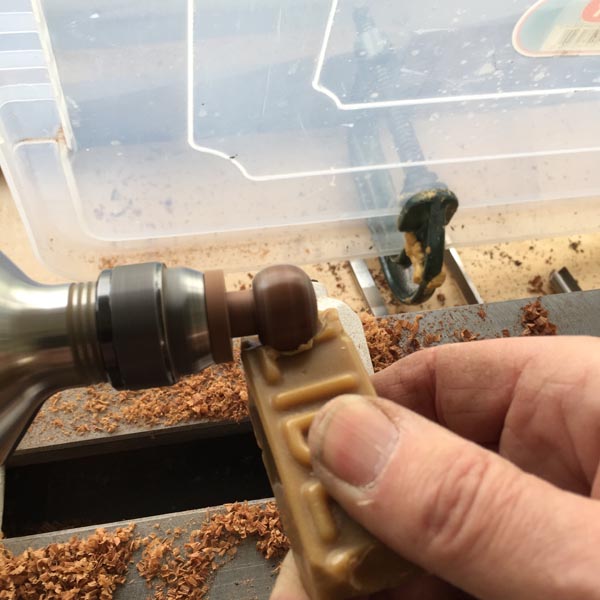
Bees wax is applied as a finish.
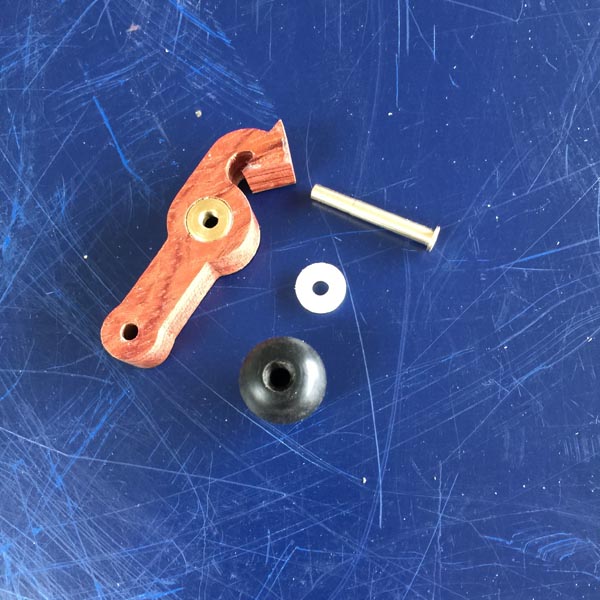
Handle parts. The hole is threaded to fit the axle.
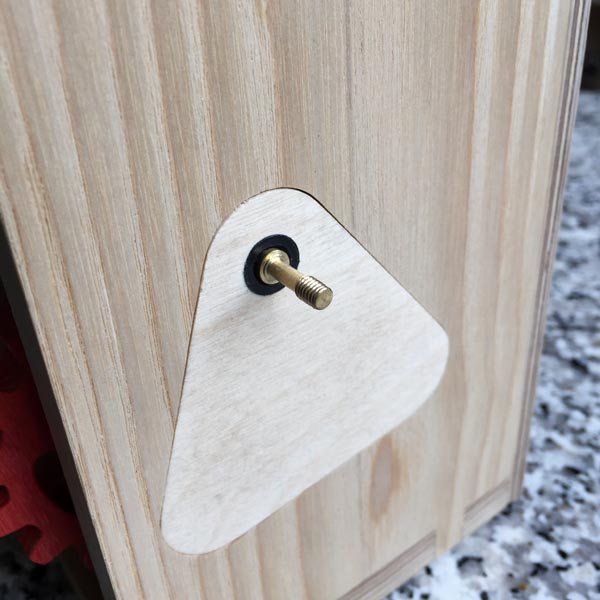
The crank is screwed onto the axle. This arrangement has the advantage that a pulley can easily be fitted if it is desired to motorise the piece.